
Quick start
from the ZIP to your first published site.
A step-by-step first run for someone who has never set up a server program. You will start Kiln on your own computer, create the console owner, invite yourself to the builder, make a site from a template and publish it. No AI key, Stripe or Cloudflare account is needed for this.
01Before you start
You need a computer with Node.js 22.12 or newer. To check, open a terminal and type node -v. If it prints a lower number or "command not found", install Node.js from nodejs.org first.
Where to type the commands:
- macOS: open the Terminal app.
- Linux: any terminal.
- Windows: install WSL (Windows Subsystem for Linux) with Ubuntu, install Node.js inside it, and type every command in the Ubuntu window. Native Windows (without WSL) is not supported.
This first run needs no accounts. Later, every outside service you connect (AI provider, Stripe, Cloudflare, Resend) bills your own account for what you use; none is included in the price.
This is a first run on your own computer. A real server with your domain and HTTPS is in Installation and Hosting sites.
02Start Kiln
- Unpack the ZIP and open the terminal in the folder that contains
package.json(on macOS you can typecdand drag the folder into the Terminal window). - Install the parts Kiln needs. Type
npm ciand wait until it finishes. If it ends with a compiler error, see Installation, step 1. - Create the settings file and its secret key:
Open the newcp .env.example .env openssl rand -hex 32.envfile in a text editor, paste the 64-character line the second command printed afterADMIN_SECRET_KEY=, and save. Keep a copy of this key in a password manager: it encrypts the API keys you save later. - Build:
npm run build. This takes about a minute. - Start:
npm start. Leave this terminal open; closing it stops Kiln.
On the first start the log shows a one-time setup code and the addresses, like this (your code is different):
[admin] No owner account yet. Open /admin and create it with this one-time setup code:

    XXXX-XXXX-XXXX-XXXX

[kiln] 1.1.0 on http://localhost:8787  builder: /app  console: /admin
Copy the code. It is shown only here. If you lose it before you use it, stop Kiln (Ctrl+C) and start it again: every start before the owner exists prints a new code.
03Create your console account
- Open
http://localhost:8787/adminin your browser. - Enter the setup code, your e-mail and a password. This creates the owner of the operator console.
- Turn on two-factor sign-in under your account. It is strongly recommended.
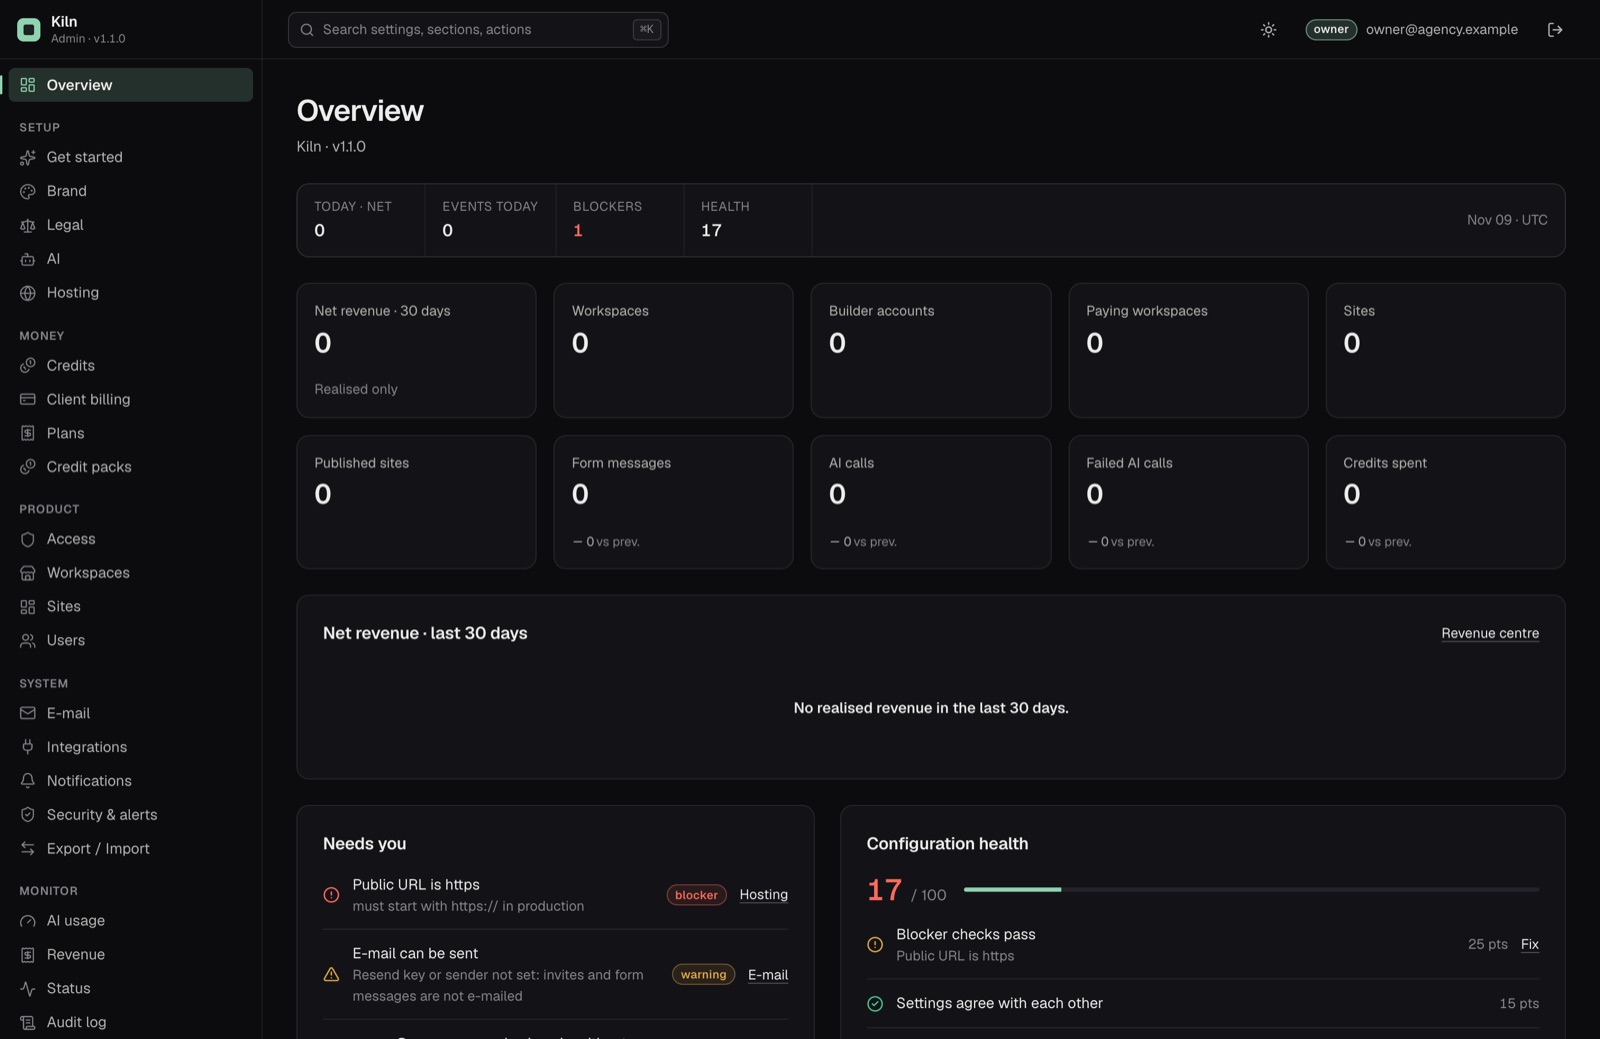
The console opens on the Overview. Its Needs you list shows what is still missing. On your own computer the Public URL is https check stays red: that is expected until you set up a real server.
04Put your name on it
In the console, open Brand and set the product name, accent colour and logo. The builder your clients see uses them. Everything else you can change without code is listed in Customization.
05Invite yourself to the builder
The console account and the builder account are separate. To build sites, invite yourself as agency staff:
- Console → Users → Invite agency staff (e-mail) → your e-mail → Create invite link.
- Open the link it shows. Without e-mail set up, the link is shown on screen to copy. It is valid for 7 days.
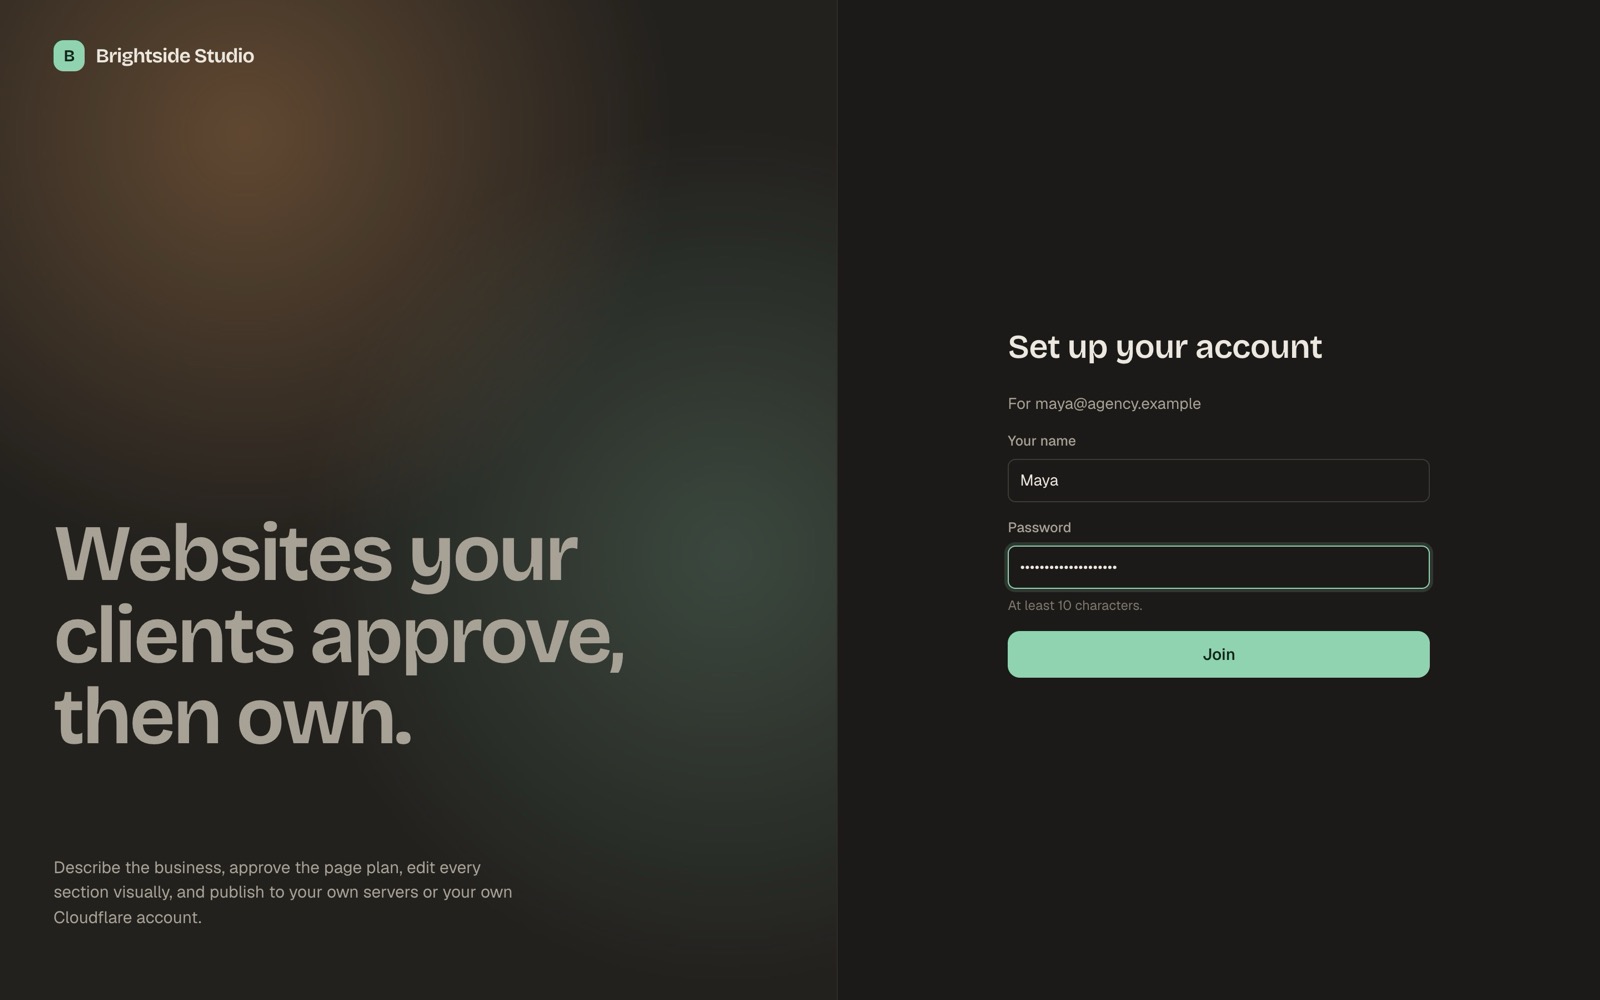
- Choose a password (at least 10 characters). You are now in the builder at
/appas agency staff.
06Make your first site
- Create a workspace for your first client (agency staff see Create a workspace).
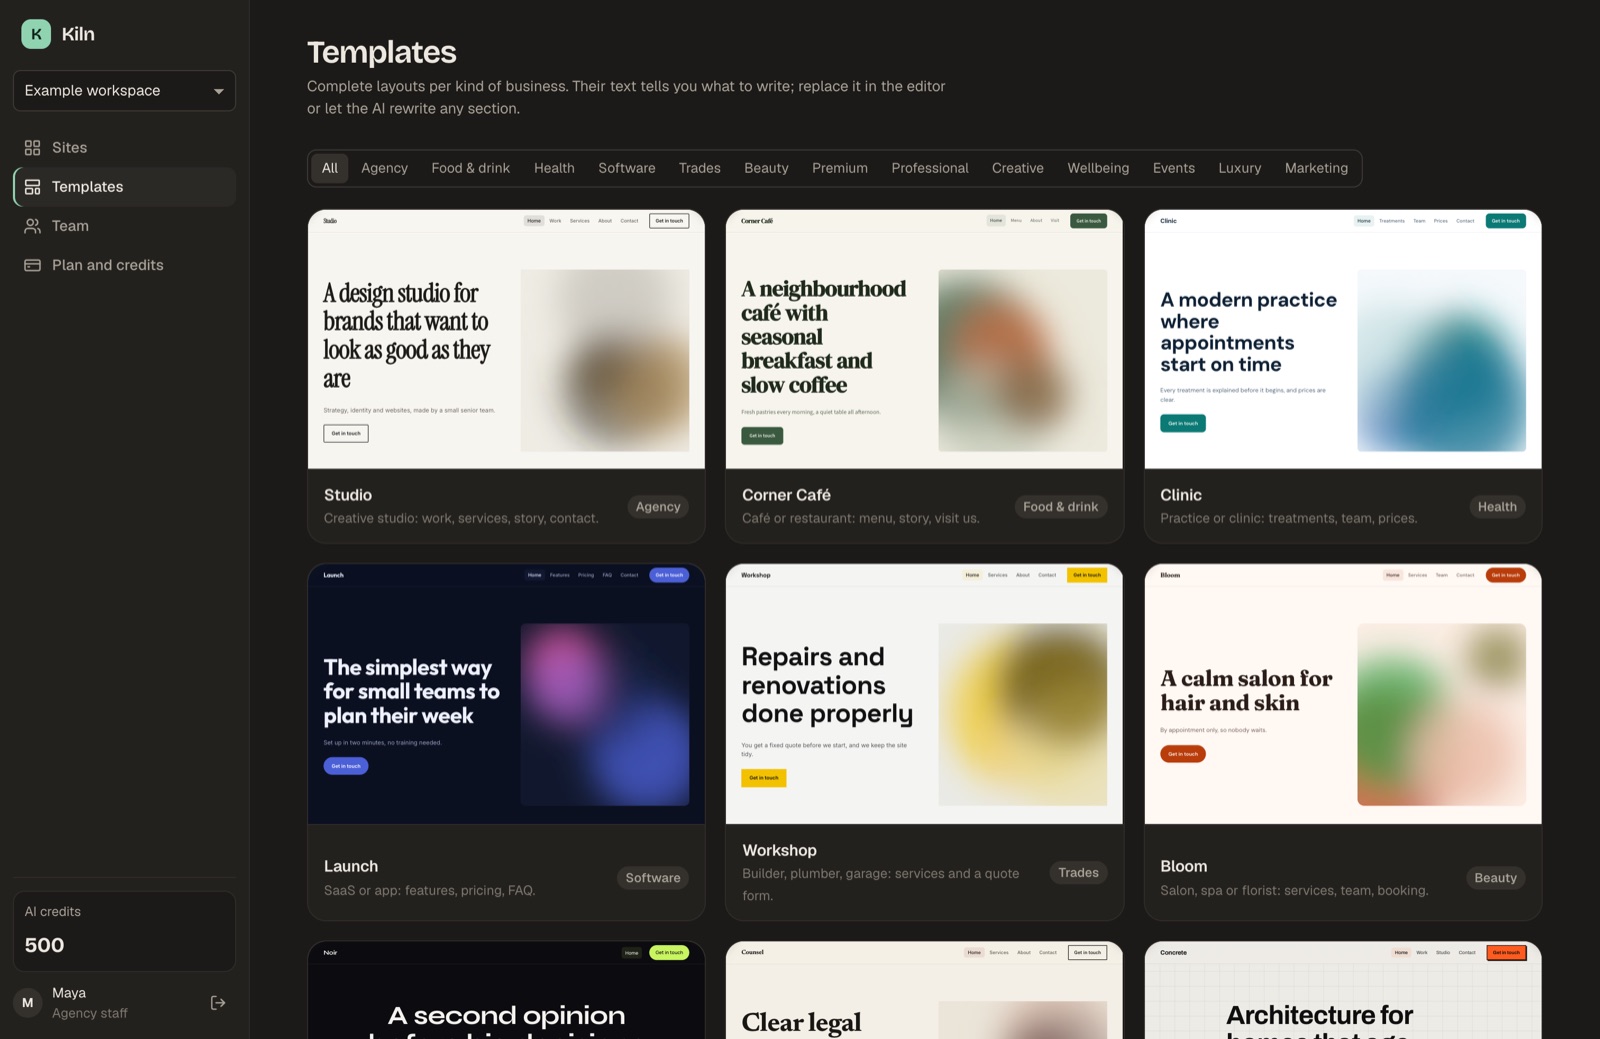
- Pick a template on the Sites page. A template creates the site at once and costs no credits.
- Edit. Click a section on the canvas, then click a text and type. Changes save by themselves.
- Publish. Click Publish → Publish under built-in hosting. The dialog shows the address, for example
http://localhost:8787/s/<site>/.
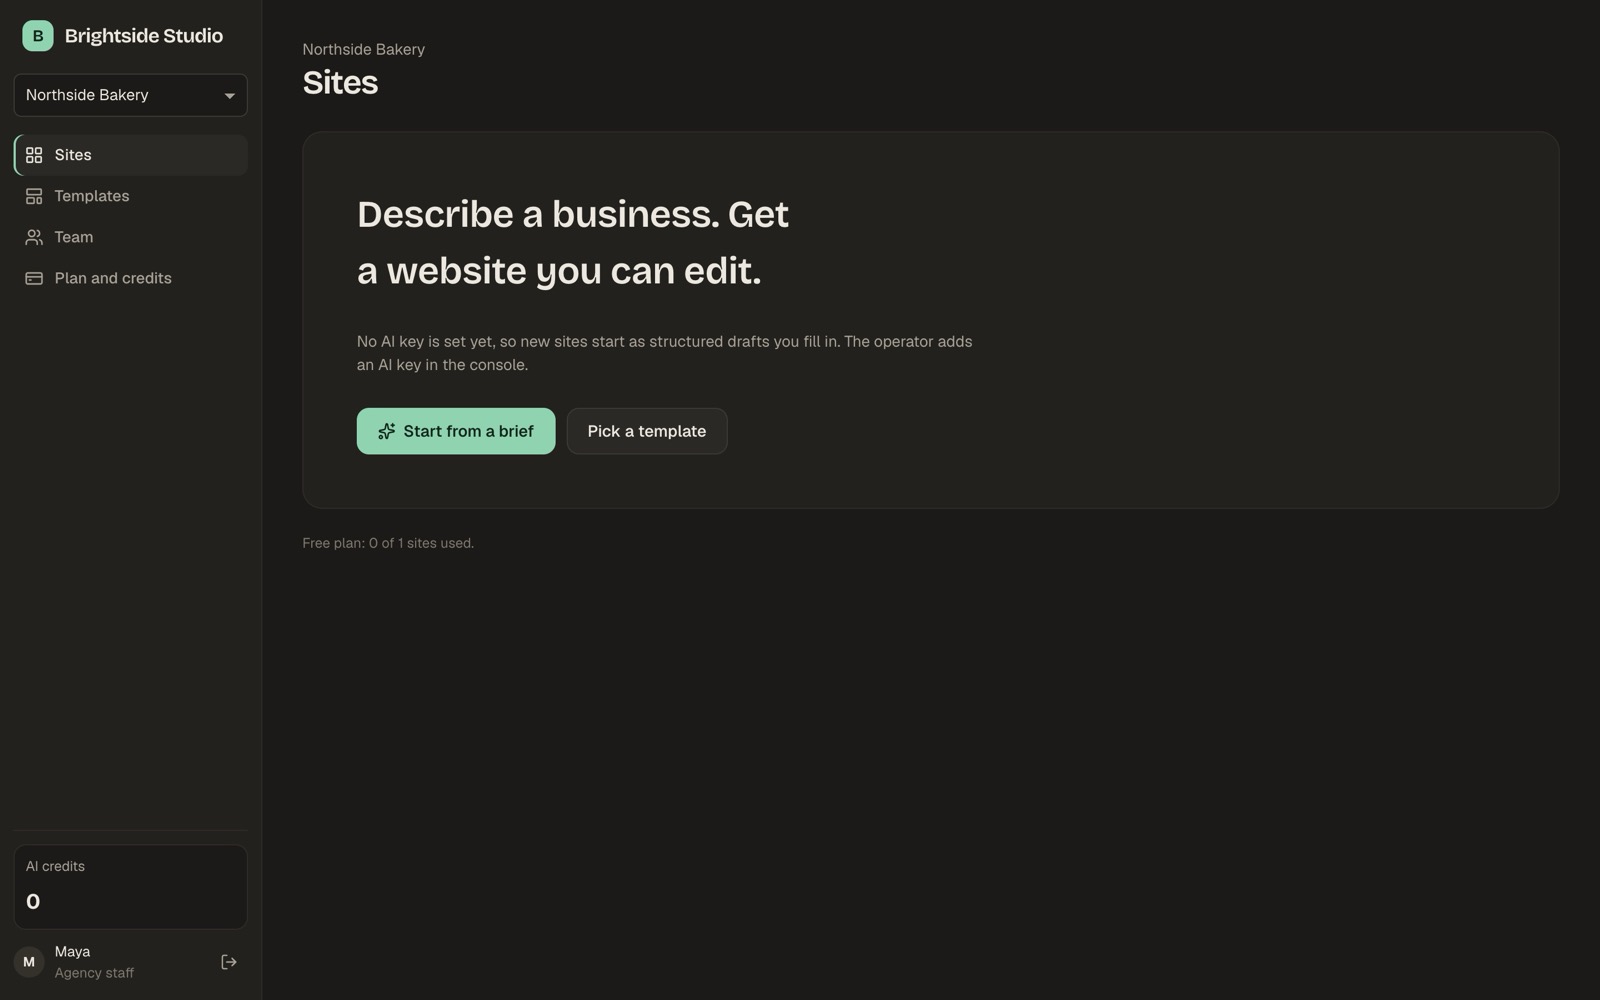
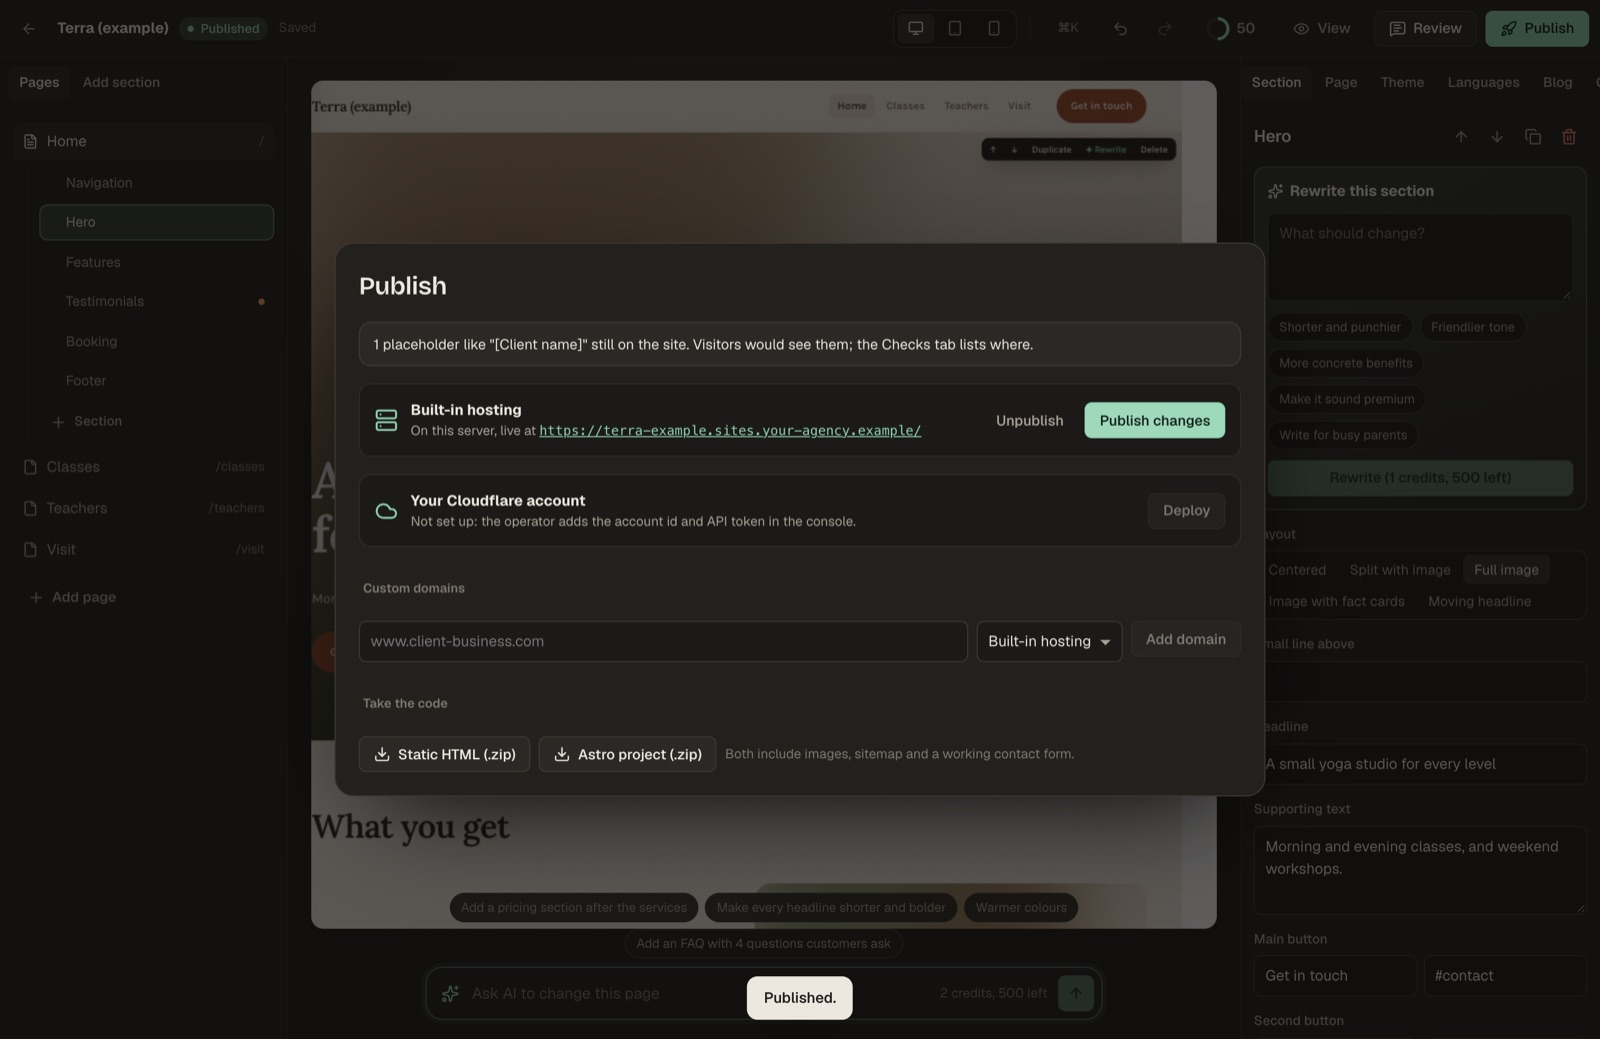
Without an AI key, Start from a brief builds a structured draft from your brief instead of AI-written pages. It costs nothing. Add a key later under Console → Integrations (see AI providers).